Stopping Glass from Cracking: The Secret is in the 0.1°C
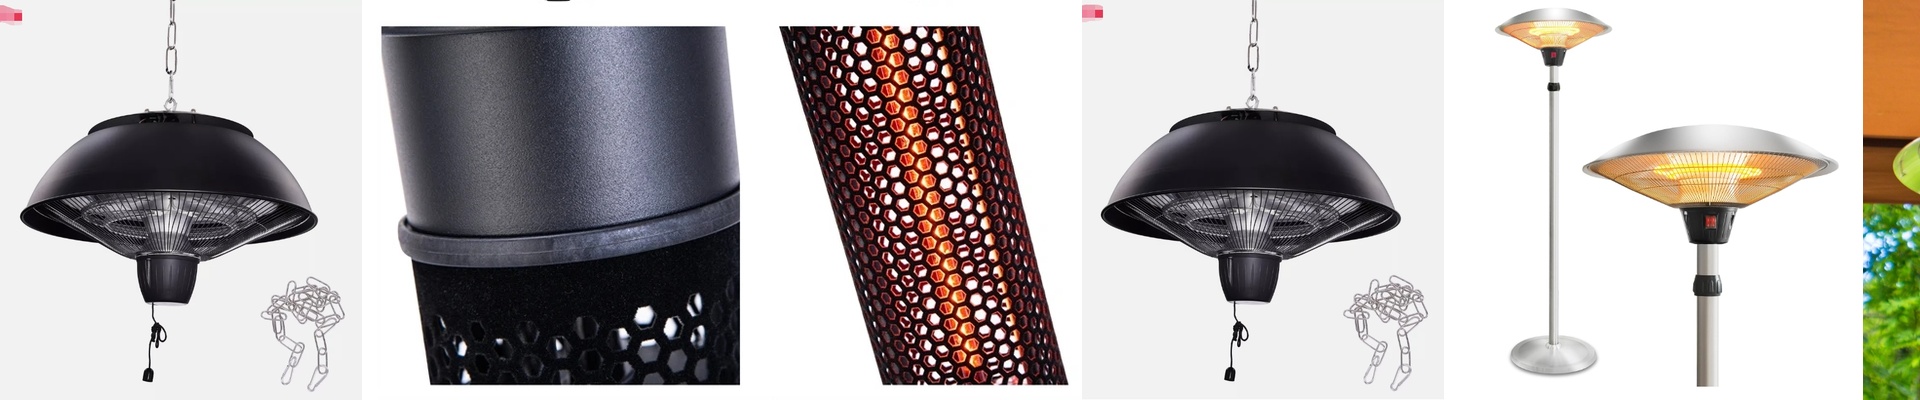
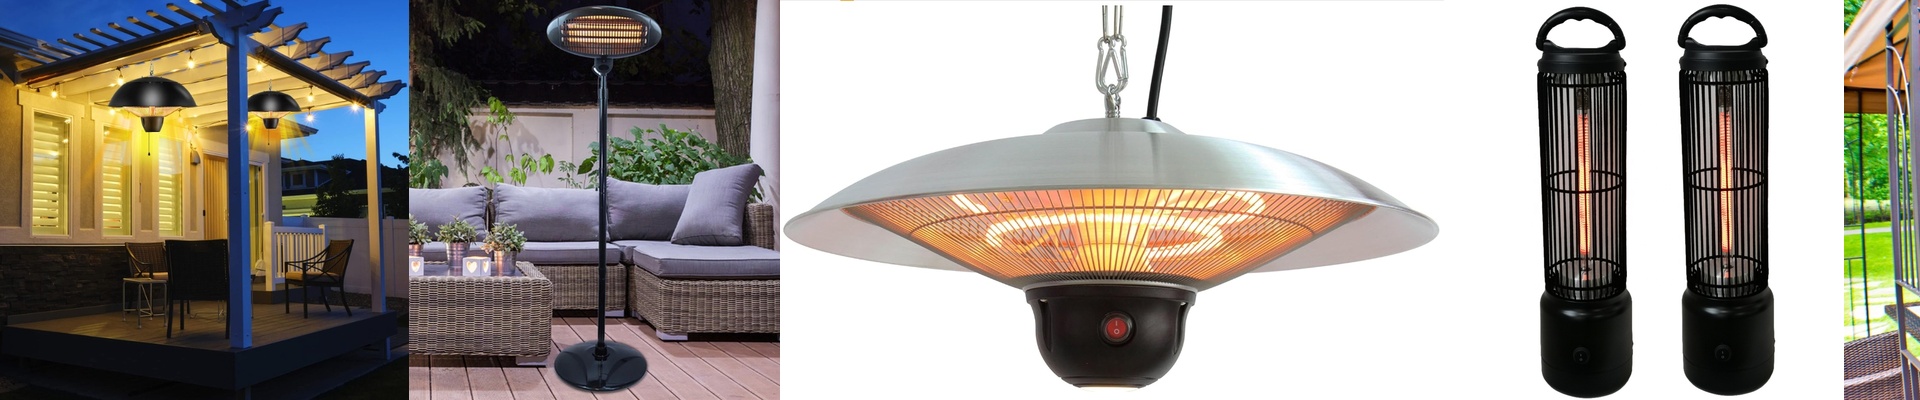
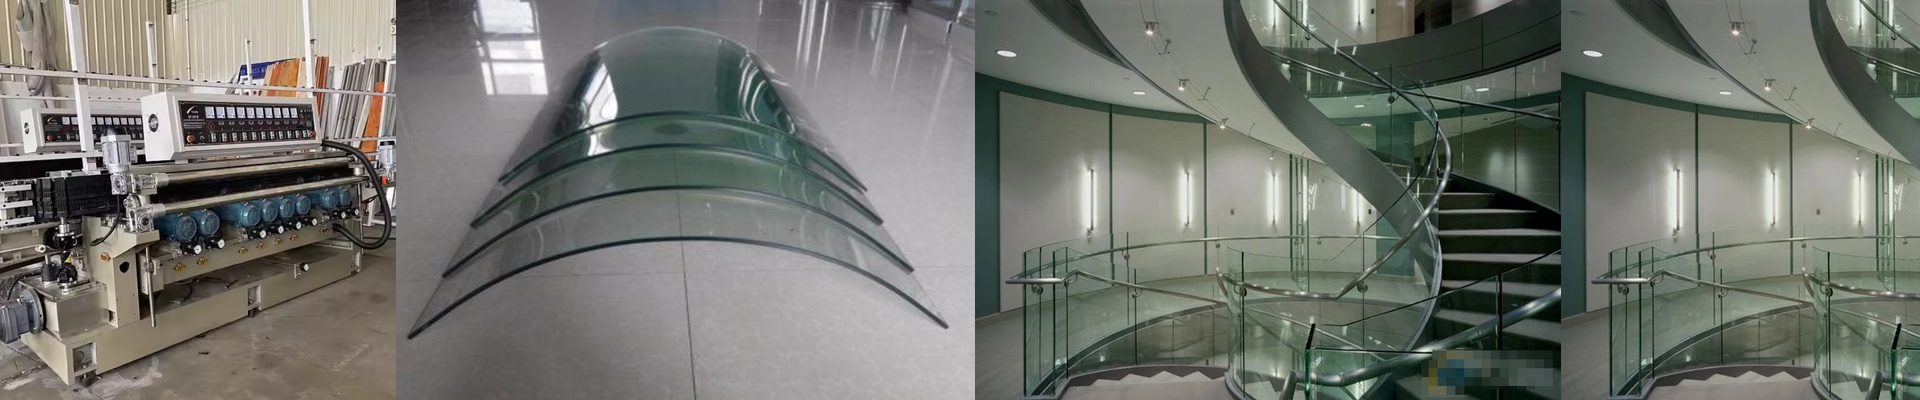
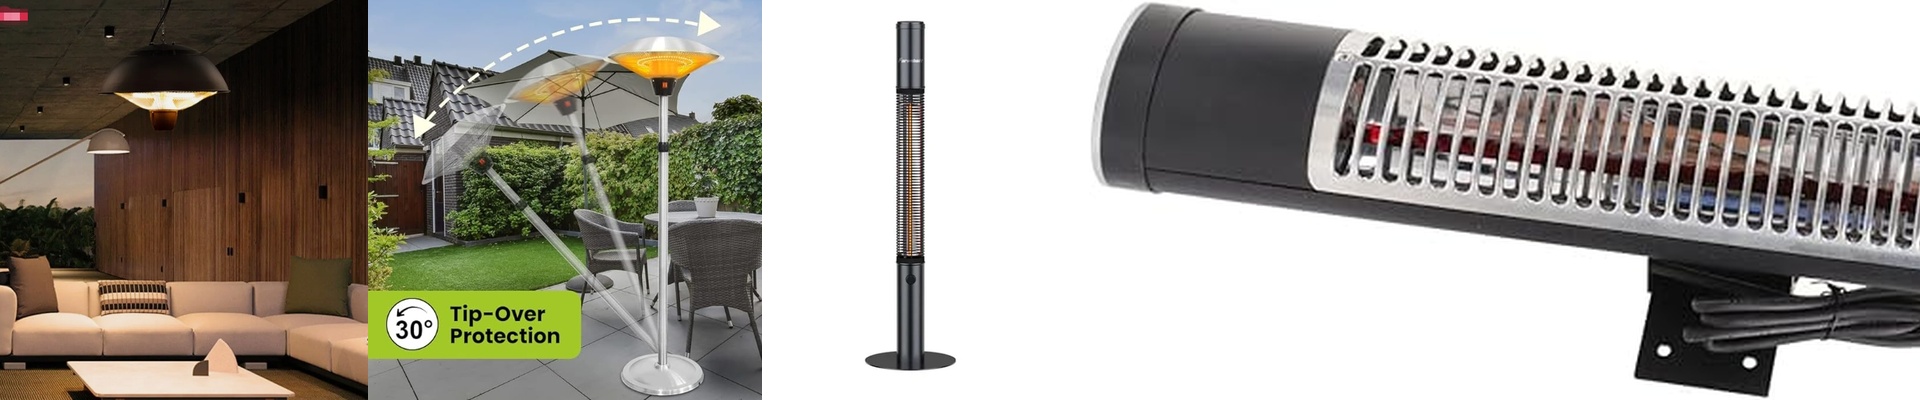
Ever had a piece of lab glassware just… snap? It’s the worst. You’ve spent hours on a setup, and then a tiny internal stress fracture ruins everything. The problem is usually the cooling curve. If the glass doesn’t cool down exactly right, it holds onto that stress. Eventually, it gives up. To stop that, we use infrared (IR) heating and some very shiny aluminum reflectors to keep things incredibly precise. Why 0.1°C actually matters Most heaters are too clumsy. They swing too far up and too far down. But for annealing, you need a system that stays put—we’re talking within 0.1°C. We use fast-response IR emitters and high-frequency PID controllers to pull this off. The beauty of IR is that it doesn’t bother heating up the air around the glass; it hits the glass directly. No waiting around for a convection oven to catch up. It’s just fast. The magic of the reflector An IR lamp on its own is kind of a waste—half the heat just vanishes into the room. That’s why we add polished aluminum reflectors. They bounce that energy right back onto the workpiece. This makes the heat hit the vessel from all sides evenly. Without them, you get “cold spots” on the shadowed side of the glass. And guess what? That’s exactly where the cracks start. The “Gotchas” Here’s the thing: these setups aren’t exactly plug-and-play. If your power supply is “dirty,” you’ll see it. Any little ripple in the voltage from your wall outlet shows up as a temperature jump in the glass. To keep things steady, you’ll probably want a dedicated stabilizer or a high-end SCR power controller. It keeps the wattage smooth. We usually build these for labs where a single shattered beaker costs more than the heater itself. You get a tiny thermal footprint and it ramps up quickly. Just one tip: keep those reflectors clean. A little bit of dust can kill your reflectivity and mess up your whole thermal balance.